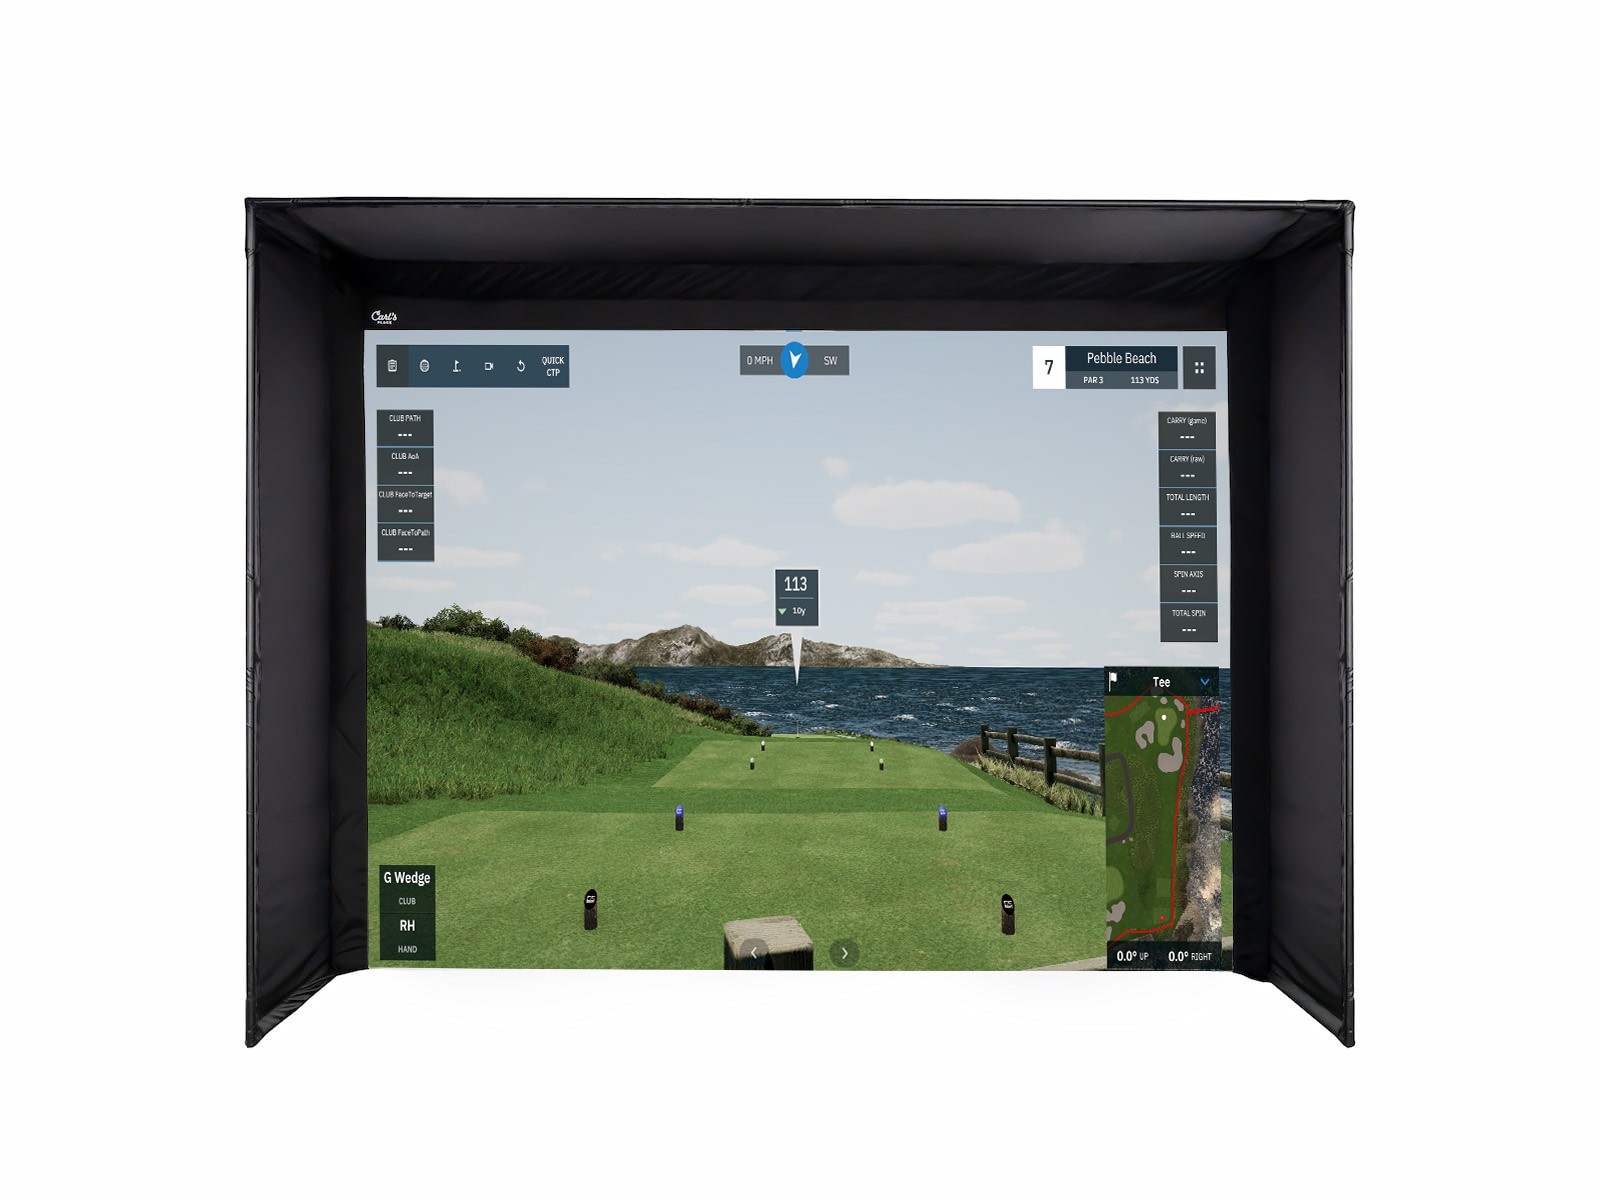
This is the enclosure kit we point most first-time simulator owners toward: a floor-to-ceiling screen with no visible bottom border, a frame you can put together in an afternoon, and sizing that's made to match your space, not the other way around.
Send your room's length, width, and ceiling height. We'll tell you honestly whether it works.
Four screen materials, six enclosure sizes — matched to how you actually play.
No surprise line items. The price you see below is the price you pay.
Your kit ships made-to-order. We stay in the loop from order to setup day.
The material behind your ball flight makes a bigger difference than most people expect, both in how the picture looks and how loud impact sounds.
No surprises, no waiting for a callback on price. Select your screen and size below and the total updates instantly. Every kit is built from genuine enclosure components — the same materials and hardware, no markup.
Pick a screen material and size to see your price.
Most customers get it done in an afternoon with basic tools and no specialized skills — it's the kit we point most first-time buyers toward for exactly this reason. If you can assemble flat-pack furniture, you can handle this.
A basic set — typically a drill, a tape measure, and whatever hand tools come in the box. Nothing specialized or trade-level is required, which is part of why this is the entry point kit for people building their first setup.
It's doable solo, but having a second person around makes holding frame sections steady and squaring up the screen noticeably easier and faster. Not a requirement, just a genuine convenience.
The DIY kit is a solid long-term setup on its own, but if your needs change — a bigger room, wanting a curved screen, or moving toward commercial-grade durability — the frame and screen can generally be swapped or upgraded rather than starting over from scratch.
 My Golf